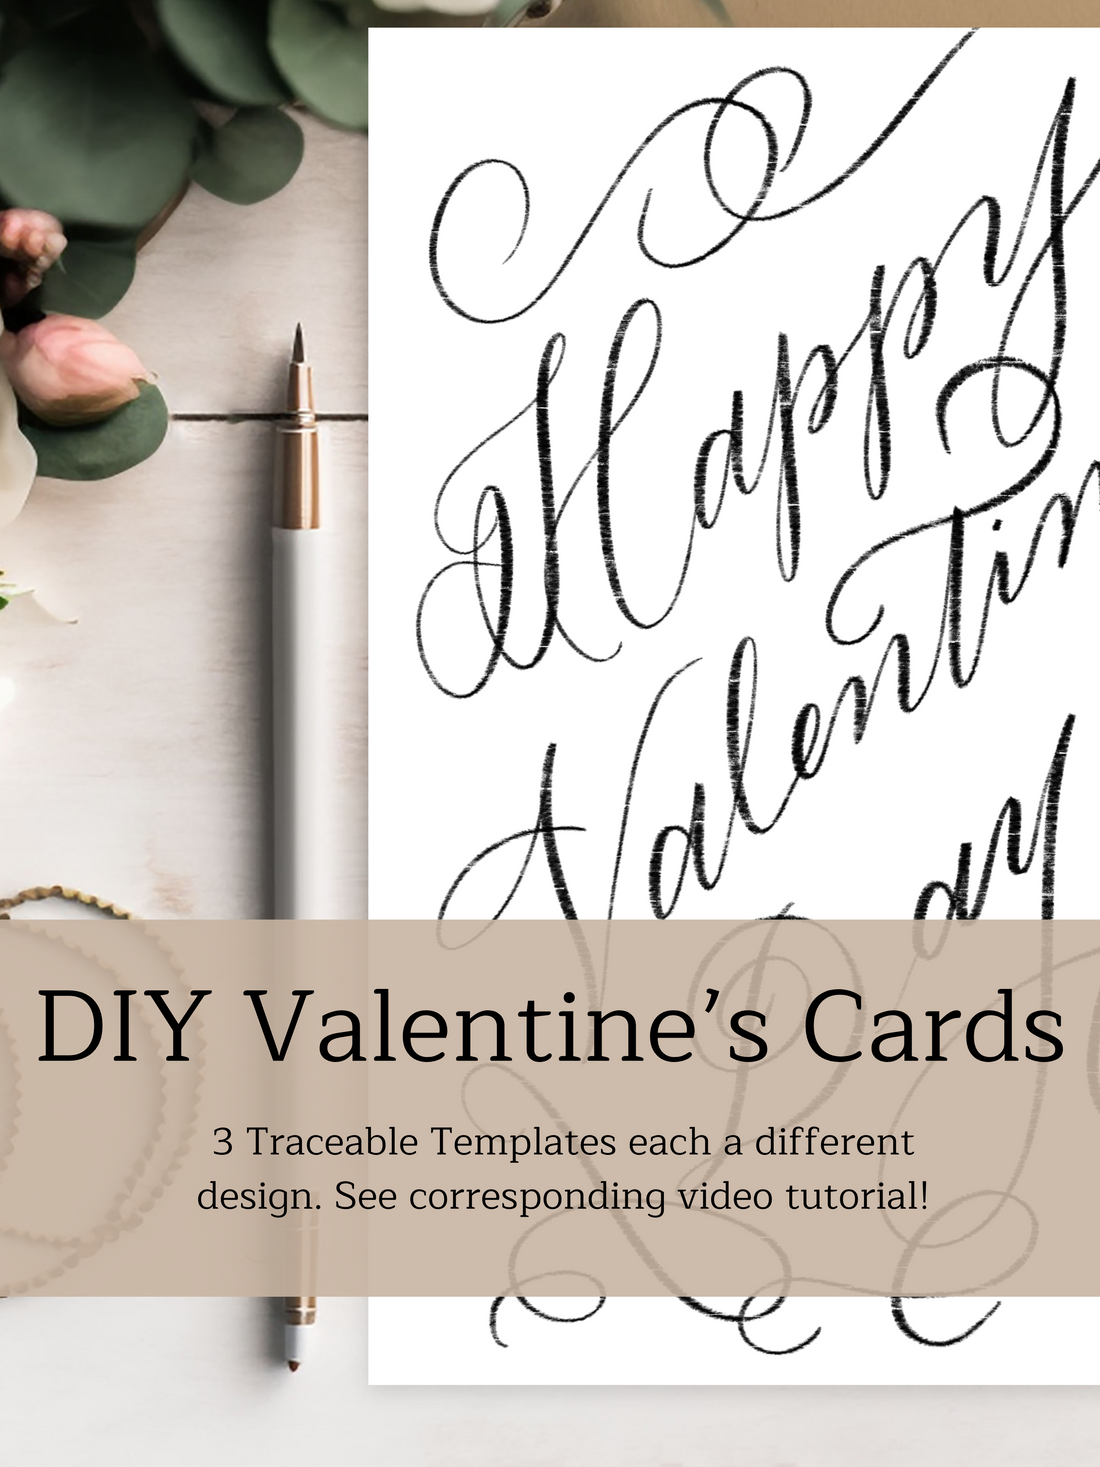
Create stunning, personalized Valentine's cards with this comprehensive tutorial on hand lettering and watercolor techniques. Whether you're a beginner or experienced artist, these projects will help you craft beautiful, heartfelt cards for your loved ones.

Materials Needed
Note: The following links are affiliate links. We may earn a small commission at no additional cost to you.
Essential Supplies
- Strathmore Cards - Premium quality cards that hold up well to both ink and watercolor
- Round Brush - Perfect for watercolor details and broad strokes
- Watercolor Set - Professional-grade colors for vibrant designs
- Water Cup - For clean brush washing between colors
- Ticonderoga Pencils - For initial sketching and guidelines
Calligraphy Tools
- Sumi Ink - Rich, black ink perfect for calligraphy (Available in our shop)
- Ink Jar - Keeps your ink fresh and accessible
- Water Dropper - For precise ink dilution
- Nikko G Nib - The ideal nib for beginners (Available in our shop)
- Tombow Fudenosuke - For brush lettering effects
Finishing Touches
- Sand Eraser - Gently removes pencil marks
- Tombow Mono Eraser - For precise erasing
- Gelly Roll Black Sparkle - Adds shimmer to your designs
Design #1: Watercolor Heart with Calligraphy
This elegant design combines loose watercolor techniques with precise lettering. Begin by creating a soft watercolor heart using your round brush and favorite pink or red shade. Allow it to dry completely before adding your hand-lettered message.
Pro Tip: Layer multiple colors while the paint is still wet for a beautiful bleeding effect.
Design #2: Minimalist Typography
For this modern approach, focus on creative letter arrangements using the Tombow Fudenosuke. Practice varying your pressure to create thick downstrokes and thin upstrokes. Consider phrases like:
- "love you more"
- "be mine"
- "forever yours"
Design #3: Floral Border with Central Message
Create a delicate frame using small watercolor flowers and leaves. Once dry, add your calligraphied message in the center using your Nikko G nib and Sumi ink. The contrast between the colorful border and black lettering creates a stunning effect.
Tips for Success
- Always sketch your design lightly in pencil first
- Let each layer dry completely before adding the next element
- Practice your lettering on scrap paper before committing to the final card
- Keep a paper towel handy for blotting excess water or ink
- Consider the negative space in your design
Common Mistakes to Avoid
- Don't rush the drying time between layers
- Avoid overworking your watercolors
- Don't press too hard with your pencil when sketching
- Remember to clean your nibs between uses
Final Touches
Consider adding sparkle accents with the Gelly Roll pen once everything is completely dry. Use the sand eraser to gently remove any visible pencil marks, being careful not to disturb your artwork.
Remember, each card is unique, and that's what makes handmade Valentine's cards so special. Don't aim for perfection – embrace the handmade quality that makes these cards truly personal.
For more inspiration and tutorials, visit our website or follow us on social media @simplyletteredstudio.
Happy creating! 💝
GET ACCESS HERE!

